Printing Job Labels
Background
At various points in the production life-cycle you may need to place
picked stock temporarily into boxes ahead of it being used in future production
processes.
In order to quickly identify what job order the boxed stock is for,
it is necessary to label the boxes.
Rather than manually write this information, job
labels can be printed from within strokeone
and attached to the boxes
About this task
This topic will instruct you how to print off job labels
Note:
- This topic does not instruct in how you physically
attach the labels as the standard / procedures to do that are
external to strokeone
and likely to vary according to your internal workflow and working
practices.
Prerequisites
The functionality can be called from within various layouts, so there
is not a single prerequisite.
Procedure
- Within the layout click the Print
Label button.

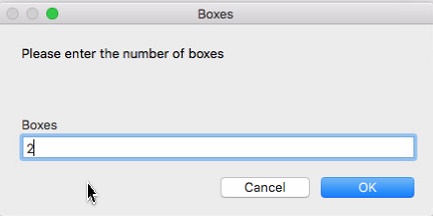
- You will be prompted to enter the number of boxes that the picked
stock is contained in.

- Once you have entered the number of boxes, click OK
- A print preview
of the job label(s), will be generated
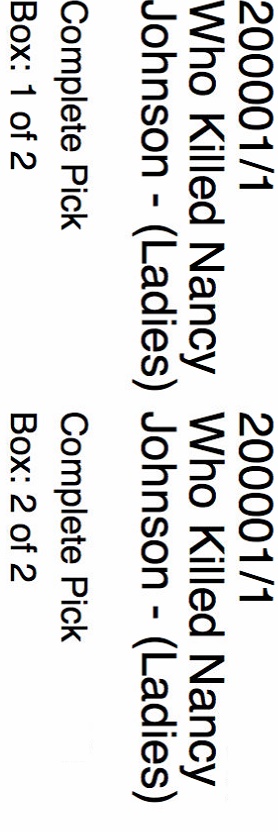
- The labels contain the following information:-
- Job Order Number
- Job Name (concatenation
of Job Description and Category)
- Box Number X of Y,
where X is the individual box number in the sequence, and Y the
number of boxes entered in step 2)
- Note, that the preview
will include a rendering of each
box label, so if you entered 15 boxes, you will see 15 renders,
each separated by box number
- Whether the corresponding stock was Complete
pick or Part Pick
Dev:
is the above part /pick true ?
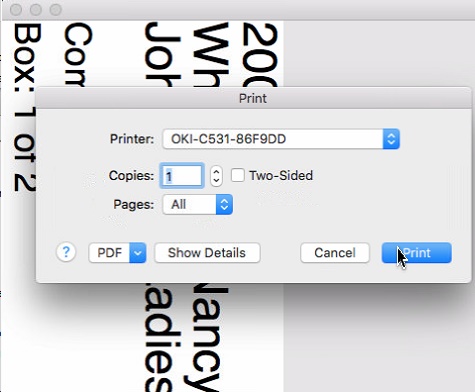
- As
well as a preview of the
Job label, the print preview will show the printer to which the physical
label(s) will be printed.
If necessary select the
correct label printer and then click Print
to
output them.