At this stage in the screen life-cycle, the screen is blank - that is, no image has been applied / exposed onto the mesh. Blank screens are not "job related."
Whilst in this initial preparatory stage, the screen can either be coated with photo reactive emulsion, or not, and this is a variable used when recording the actual details of splits.
The process to record splits that occur at this stage can be illustrated schematically, and involves the following steps:- :-
Procedure
- Evaluate the frame & mesh count size of the screen that has split.
- Evaluate whether the screen is coated with photo reactive emulsion.
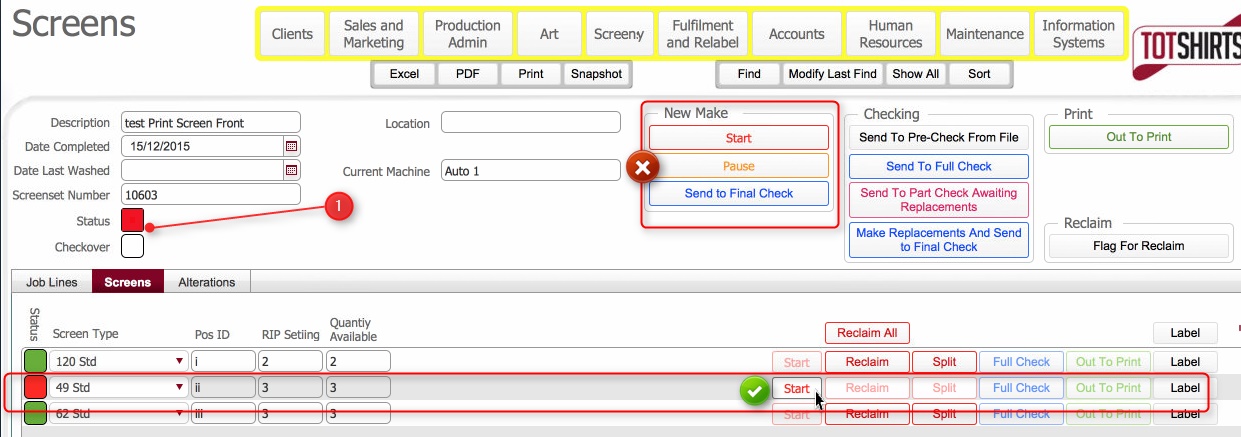
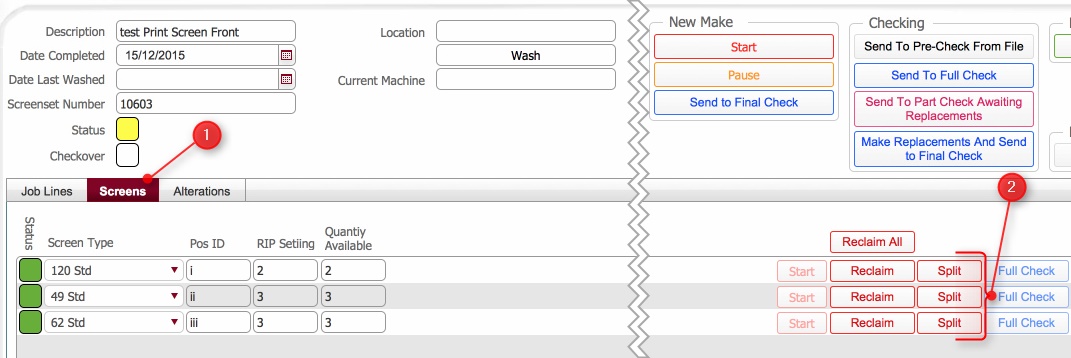
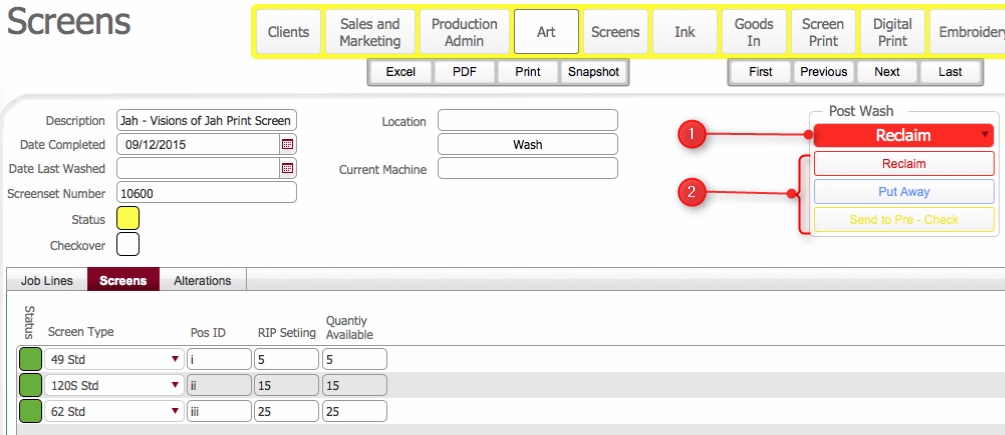
- Open the Screens controls list layout.
- Locate the data-row for the screen frame/mesh count from step 1)
- Locate the two action buttons Split from Coated and Split from Available for the screen size identified in step 5).
- If the split screen was coated, click Split from Coated button; if it wasn't click the Split from Available button.
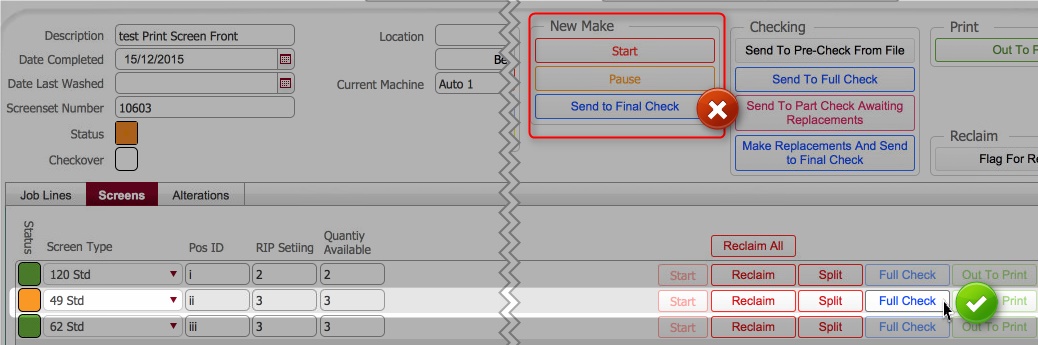
- In the Enter Quantity dialog, enter the quantity of the chosen screen frame size/mesh count / and coat status which has split.
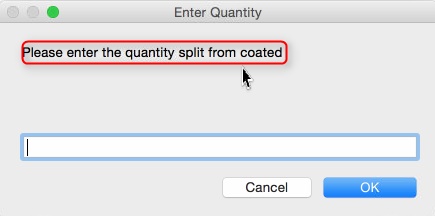
Note: the verbiage (circled in the above screen-shot) is contextual and will vary depending on whether you clicked the coated or available button in step 6)
- Click OK to commit your update.
- The totals in the screen control list update accordingly.